Calibration
To determine the credibility of studies by AFM — microscopy testing and calibration of microscope work and test the quality of probes (scale of X-, Y-, Z – coordinates, the radius of the tip of the cantilever, linearity and orthogonality of the axes of the scan). For calibration and determination of the working shapes of the probes used special test structures with known topography.
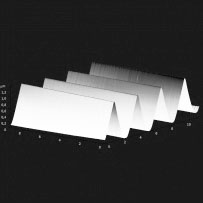
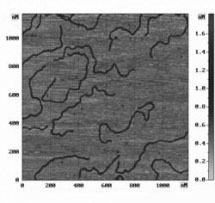
For the calibration of microscopes in the scanning plane and vertically apply a diffraction grating with submicron sizes. In the absence of a specially manufactured calibration gratings, can be used as a test object to obtain atomic resolution fresh cleaved mica or highly oriented pyrolytic graphite (HOPG), because the parameters of the terrain are well known.
Advantages of graphite as the test sample are: stable operation is output; a low concentration of point and line defects; low reactivity in atmospheric conditions; the possibility of obtaining atomically clean surface.
| Product# | Description | Unit | Price | Qty / Quote |
|---|---|---|---|---|
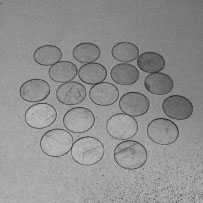
| Mica-d9.5-20 | 20/box  |
each | $163.88 | |
| Mica-15×15-20 | 20/box  |
each | $163.88 | |
| SU001-10 | 10/box  |
each | $261.11 |
| Product# | Description | Unit | Price | Qty / Quote |
|---|---|---|---|---|
| DNA01-1 | 1/box  |
each | $163.88 | |
| SiC-0.75-1 | 1/box  |
each | $262.20 | |
| SiC-1.5-1 | 1/box  |
each | $262.20 | |
| PFM03-1 | 1/box  |
each | $491.63 | |
| PFM_S-1 | f = 470 kHz,1/box  |
each | $327.75 |


